SST is The Most Underrated Serverless Framework You Need to Discover (part 2)
NOTE
SST Series This article is part of a series around SST - Serverless Stack. I will try to let you discover some amazing aspects of this particular solution in the serverless world.
So you start building using serverless principles, and you discover the Serverless framework. Great ! You will discover here another option, that I consider superior in multiple area, the Serverless Stack (SST). In this second article, I will focus on some available constructs after introducing the concept. It can help you to build faster!
Introducing some concepts
What is CDK?
The Serverless Stack (SST) is based on the AWS Cloud Development Kit (CDK). This solution has been introduced by AWS a few years ago, it allow to build infrastructure as code (IaC) by using a real programming language. If you already know Terraform, it is an equivalent product.
Terraform allow you to declare cloud resources via the HashiCorp Configuration Language (HCL):
resource "aws_instance" "iac_in_action" {
  ami               = var.ami_id
  instance_type     = var.instance_type
  availability_zone = var.availability_zone

  // dynamically retrieve SSH Key Name
  key_name = aws_key_pair.iac_in_action.key_name

  // dynamically set Security Group ID (firewall)
  vpc_security_group_ids = [aws_security_group.iac_in_action.id]

  tags = {
    Name = "Terraform-managed EC2 Instance for IaC in Action"
  }
}
On the opposite CDK allow you to declare cloud resources via TypeScript, Python, Java or .Net (maybe more now?)!
import * as ec2 from '@aws-cdk/aws-ec2';
import * as iam from '@aws-cdk/aws-iam';
import * as cdk from '@aws-cdk/core';

export class CdkStarterStack extends cdk.Stack {
  constructor(scope: cdk.App, id: string, props?: cdk.StackProps) {
    super(scope, id, props);

    // ... rest

    // 👇 create the EC2 Instance
    const ec2Instance = new ec2.Instance(this, 'ec2-instance', {
      vpc,
      vpcSubnets: {
        subnetType: ec2.SubnetType.PUBLIC,
      },
      role: webserverRole,
      securityGroup: webserverSG,
      instanceType: ec2.InstanceType.of(
        ec2.InstanceClass.T2,
        ec2.InstanceSize.MICRO,
      ),
      machineImage: new ec2.AmazonLinuxImage({
        generation: ec2.AmazonLinuxGeneration.AMAZON_LINUX_2,
      }),
      keyName: 'ec2-key-pair',
    });
  }
}
(this is a TypeScript example from here).
A few more differences exists between the solutions:
- Terraform can deploy on any supported cloud provider but CDK is designed to work only on AWS (some tooling exist to break this limit, but it’s not the goal of this article!)
- CDK is relying on CloudFormation template and stacks, so the state of your infrastructure is directly stored in CloudFormation stacks (not in a local json file or a S3 bucket, classic solutions for Terraform)
This will be enough to introduce you the next important concept: constructs!
What are constructs?
From AWS Documentation:
Constructs are the basic building blocks of AWS CDK apps. A construct represents a “cloud component” and encapsulates everything AWS CloudFormation needs to create the component.
You can think about a set of basic cloud resources are managed behind a construct, and it help you to handle the complexity more easily with a few low number of lines.
For example here we can see how it’s possible to use the construct ApplicationLoadBalancedFargateService in a few lines of codes:
const loadBalancedFargateService = new ecsPatterns.ApplicationLoadBalancedFargateService(stack, 'Service', {
  cluster,
  memoryLimitMiB: 1024,
  cpu: 512,
  taskImageOptions: {
    image: ecs.ContainerImage.fromRegistry("amazon/amazon-ecs-sample"),
  },
});
This single object is responsible to create the following:
- a ECS task definition
- a ECS service based on Fargate
- an Application Load Balancer
And it can also generate for you a ECS Cluster if you provide a VPC. So in just 8 lines you create not less than 4 or 5 AWS resources!
Constructs Provided By SST
As said previously SST is based on CDK so it use intrinsically all CDK concepts, including Constructs.
One example provided in the first article was using the Api object, it’s probably the most basic SST Construct available! Let’s get a view on the most important constructs available in the framework and understand how it can help you.
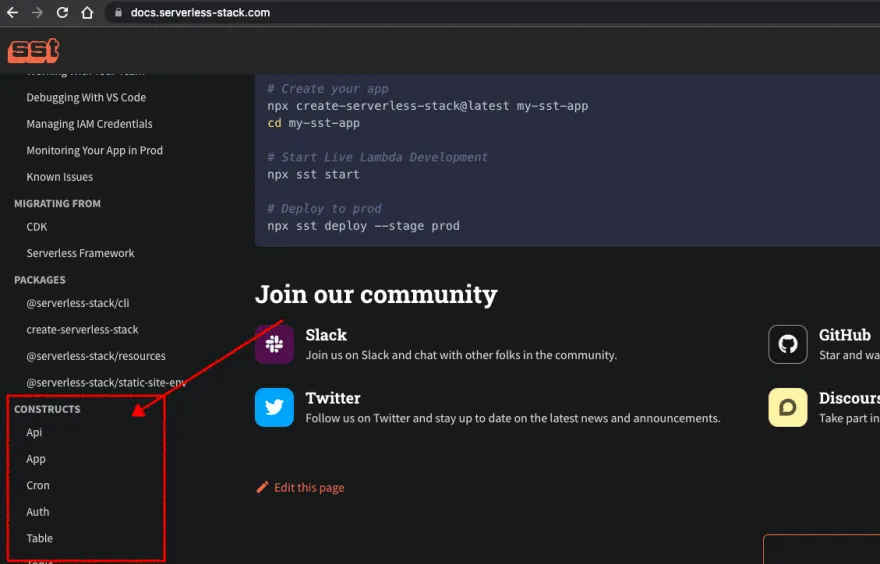
(Go here to get the full list!)
Api
const api = new Api(this, "Api", {
  routes: {
    "GET  /notes": "src/list.main",
    "POST /notes": "src/create.main",
  },
})
The most simple one, to declare API HTTP endpoints very quickly. It mimics what can be done in the classic Serverless Framework. See my first article for a more in-depth comparison.
Auth
import { Auth } from "@serverless-stack/resources";

const auth = new Auth(this, "Auth", {
  cognito: true,
});
Auth will allow you to manage user authentication on your application, API… It’s based on AWS services: Cognito User Pool and Cognito Identity Pool.
You can then manage the permissions:
auth.attachPermissionsForAuthUsers([
  api,
]);
Authenticated user of the auth object will be allowed to access the API endpoints declared by the api object (you need to secure your API for that, by default API is not secured and everyone can use it).
Table
The Table construct will handle for you a DynamoDB table:
import { Table, TableFieldType } from "@serverless-stack/resources";

const table = new Table(this, "Notes", {
  fields: {
    userId: TableFieldType.STRING,
    noteId: TableFieldType.STRING,
  },
  primaryIndex: { partitionKey: "noteId", sortKey: "userId" },
});
Then if you want to allow the Lambda functions inside your api object to be able to read / write in the table you have to specify that with the permissions prop:
new Api(this, "Api", {
  defaultFunctionProps: {
    permissions: [table],
  },
  routes: {
    "GET  /notes": "src/list.main",
    "POST /notes": "src/create.main",
  },
});
ReactStaticSite
ReactStaticSite is a very cleaver constructs that will allow you to include your frontend application inside the SST application!
Let’s imagine you have a frontend/ folder inside the SST application with a classic ReactJs application. Add the following to your SST stack:
const site = new ReactStaticSite(this, "ReactSite", {
  path: "frontend/",
});
This 3-lines of code will do the following:
- create for you a S3 bucket to host the frontend files
- create for you a CloudFront deployment to manage a CDN for your frontend
- build your ReactJs application when you are deploying the application (
sst deploy) - push to S3 the build version of your ReactJs application to the S3 bucket dedicated
- invalidate the CloudFront deployment (to get ride of existing cached data on the CDN)
And you can also imagine the power behind the StaticSite or the NextjsSite constructs 😅
Handle Environment Variables with ReactStaticSite
Generally you will use some REACT_APP_* variables in your ReactJs application in order to share the URL endpoint of your API, the Cognito User Pool Id, etc… A classic way to do that is to create a .env file at the root level of your ReactJs application (here for Create React App documentation)
SST is providing a very efficient way to handle that without messing with a .env file anymore! First define the variable in the ReactStaticSite construct like that:
new ReactStaticSite(this, "ReactSite", {
  path: "path/to/src",
  environment: {
    REACT_APP_API_URL: api.url,
    REACT_APP_USER_POOL_CLIENT: auth.cognitoUserPoolClient.userPoolClientId,
  },
});
Then in combination with the Live Lambda Development environment (it will be my next article!) you will be able to start your local React application by using the SST live information!
Add the following package to your ReactJs application:
npm install --save-dev @serverless-stack/static-site-envAnd change the start script in package.json:
"scripts": {
  "start": "sst-env -- react-scripts start",
  "build": "react-scripts build",
  "test": "react-scripts test",
  "eject": "react-scripts eject"
},
More on this feature in the dedicated documentation.
Conclusion
This is the end of this second article about SST framework. I hope you understand better the power behind each construct provided by the framework. The team behind is very active and ship new features very often. I remember a few months ago, saying to myself: “if only some kind of static site could be embed into SST it will be just magic”. Then I see v0.33.0 😱.
Just give a look at the follow resources:
- documentation which is top notch
- guide that contains a lot of examples, and some comparison with Serverless Framework
In the next episode of this series, I will speak about the local development feature of this framework, you can follow me to be informed when it will be out!